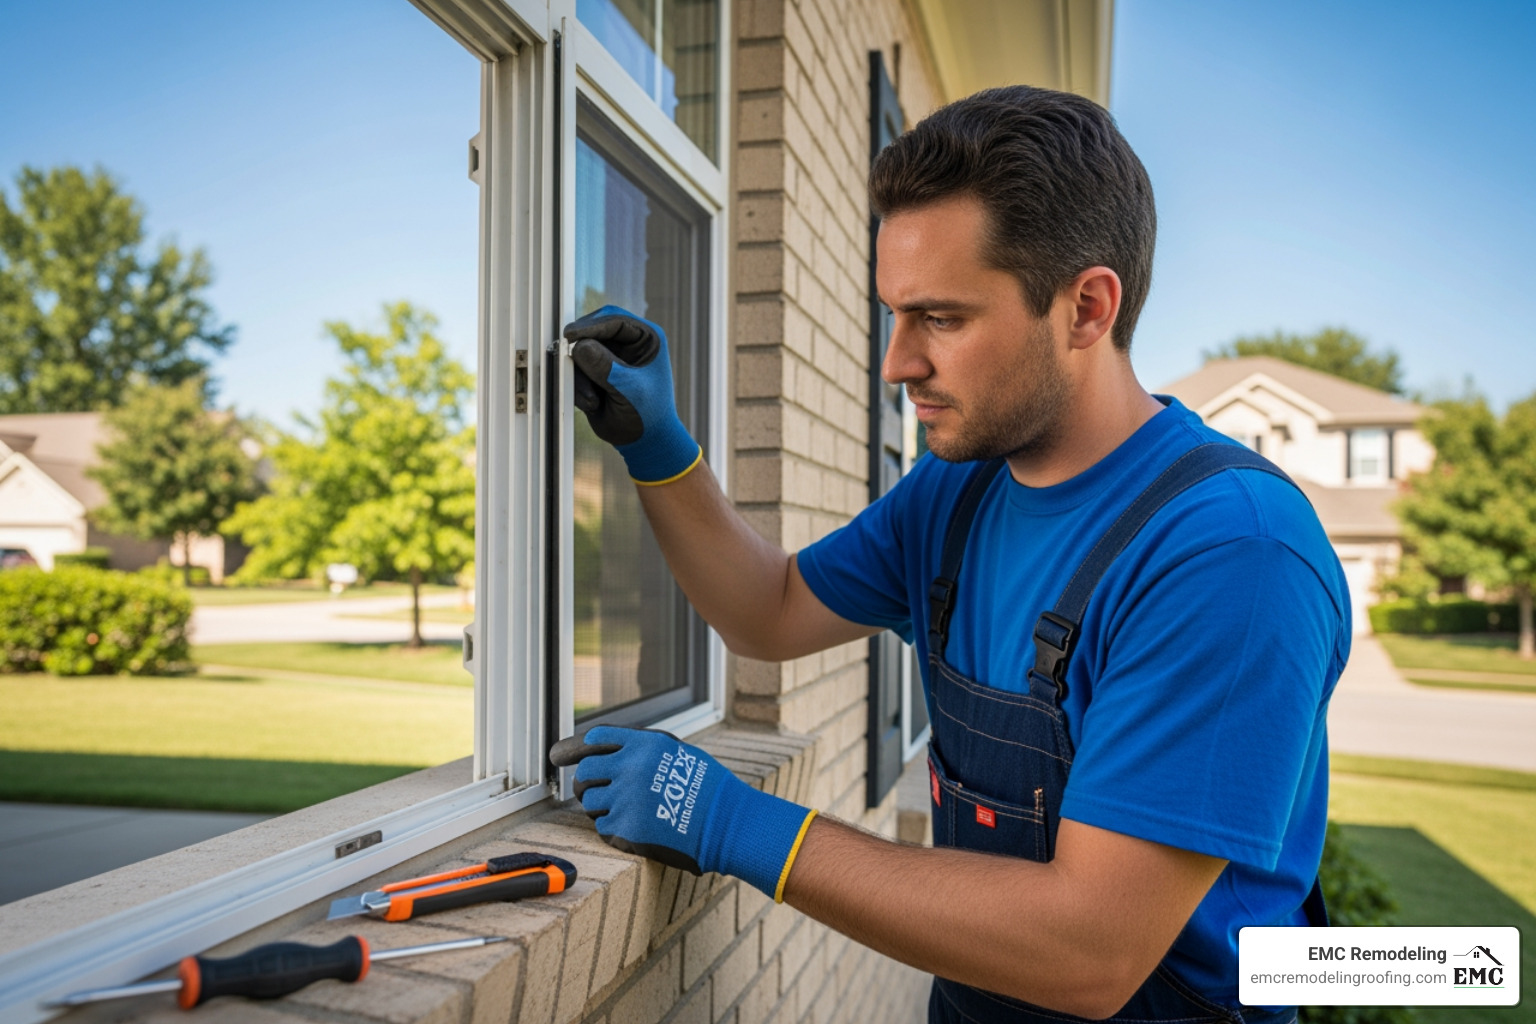
Window Screen Frame Replacement: The Fast DIY Fix—and When It Signals a Bigger Roofing or Storm Damage Problem
Window screen frame replacement is a straightforward DIY project that most homeowners can complete in as little as 30 minutes with the right kit and basic tools. As a trusted home exterior remodeling company, we recommend inspecting your screens annually because damaged screens often appear alongside broader exterior issues such as wind-driven debris, warped window tracks, and storm-related wear.
Here’s the direct answer: if the window opening is sound, you can usually replace the screen frame yourself in five simple steps. If the opening is out of square, the tracks are bent, or the damage happened after a storm, the screen problem may be a symptom of a larger exterior issue that requires prompt repair—especially after hail or high winds.
Quick process overview:
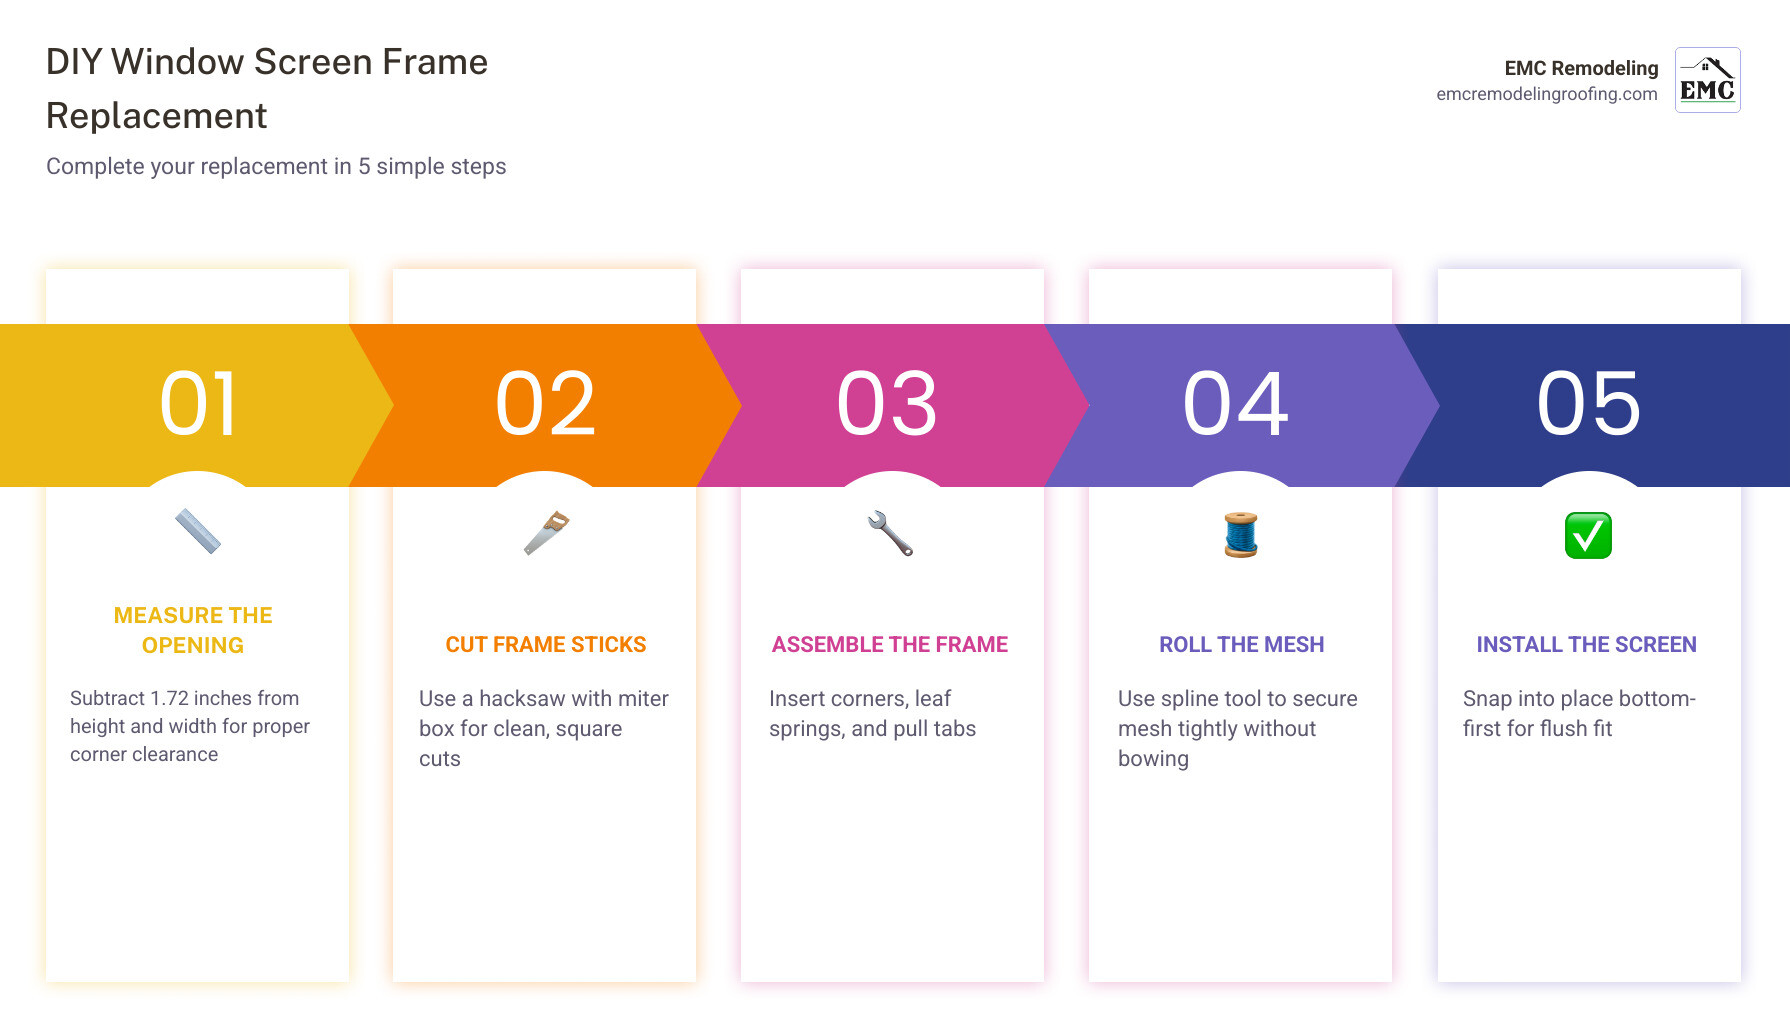
- Measure your window opening (subtract 1.72″ from both dimensions for corner clearance)
- Cut aluminum frame sticks to size using a hacksaw and miter box
- Assemble the frame using corner inserts, leaf springs, and pull tabs
- Roll the screen mesh into the frame groove using a spline tool
- Install the finished screen into your window opening, bottom edge first
Standard DIY kits are available in widths of 36″, 48″, and 60″ and commonly support a maximum screen size of 48″ x 48″. Prices often start around $22 for a single-screen aluminum frame kit. That makes screen replacement one of the lowest-cost exterior maintenance projects a homeowner can tackle.
Whether your screen was damaged by a storm, worn out over time, or simply needs an upgrade, a DIY window screen frame kit gives you control over the fit and finish. At the same time, repeated screen failure is a reliable sign that it may be time for a broader exterior inspection, including roof repair services.
I’m Matthew Runyon, President of EMC Remodeling & Roofing in Temple, Texas, with over 15 years of hands-on experience in home exterior improvements, including window screen frame replacement, storm restoration, and emergency exterior repairs across Central Texas. In the steps below, I’ll show you exactly how to replace a screen frame—and how to recognize when the real problem extends beyond the screen itself.
Choosing the Right Screen Frame Kit After Wind, Hail, or Everyday Wear
When you decide to tackle a window screen frame replacement, the first step is selecting the right kit. The correct kit delivers a better fit, faster installation, and longer service life. It also helps you determine whether you are dealing with a simple screen issue or storm-related exterior damage.
At EMC Remodeling, we provide expert home exterior services and often see a clear pattern after Texas storms: bent screens, popped tabs, and warped tracks frequently occur alongside damaged flashing, missing shingles, and water-entry risks. That is why homeowners replacing screens after a storm should also consider scheduling an exterior check with our roof repair services. Whether you are dealing with traditional wood windows or modern vinyl windows, these kits offer a practical solution when the surrounding structure remains intact. Most professional window services use the same core materials: roll-formed aluminum frames and durable fiberglass mesh.
According to industry standards, a Window Screen Frame Kit typically includes four aluminum frame sticks, four corner inserts, and the necessary spline to hold the mesh in place. Aluminum remains the preferred material because it is lightweight, rust-resistant, and less likely to sag than plastic alternatives.
Frame-Only vs. Mesh-Included Kits: What Works Best?
One of the most important decisions is choosing between a kit that includes mesh and one that is frame-only.
- Mesh-Included Kits: Best for homeowners starting from scratch. These often include charcoal fiberglass mesh for strong visibility and airflow.
- Frame-Only Kits: Best if you already have specialty mesh on hand or want to upgrade performance.
A notable feature of many modern kits is pre-installed spline. In these systems, the vinyl spline is already tucked into the frame groove; you simply remove it with needle-nose pliers, place the mesh, and roll the spline back in. Kits are generally sold by maximum build size, with common widths of 36-inch, 48-inch, and 60-inch.
Best Mesh Options for Heat, Insects, and Pet Damage
Not all mesh performs the same. Depending on your home’s needs in Leander, TX or Temple, you may want to upgrade your screen frame kit with specialty mesh:
- Solar Protection: Solar screens can block up to 90% of UV rays, reducing glare and helping limit heat gain during extreme Texas summers.
- Pet-Resistant: Pet mesh is up to seven times stronger than standard fiberglass, making it ideal for homes with active cats or dogs.
- No-See-Um: A tighter 20×20 or 18×16 weave blocks smaller insects while still allowing airflow.
Practical takeaway: if a storm damaged both your screens and your roofline, replacing the screen alone addresses the symptom, not the cause. In those cases, a combined window-and-roof inspection is the most efficient next step.
Step 1: Measuring for Your Window Screen Frame Replacement
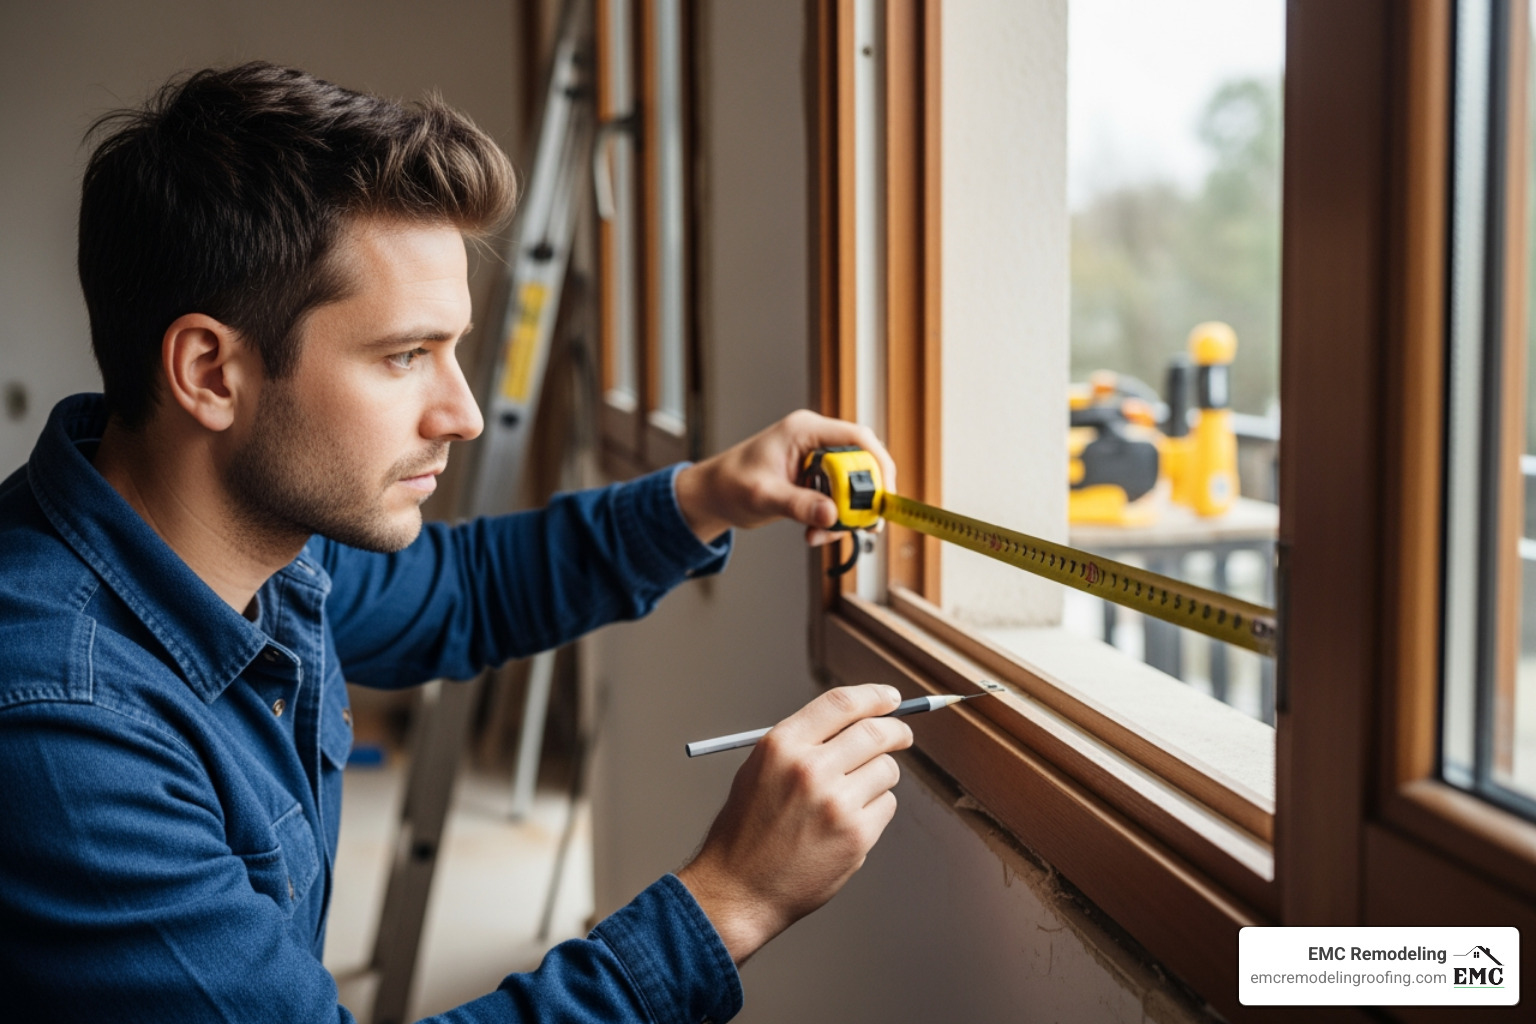
Precision is the secret to a professional-looking window screen frame replacement. You cannot simply measure the old, warped screen; you must measure the window’s “net opening” where the screen will sit.
To ensure the frame fits perfectly with the corner inserts, you must account for the space those corners occupy. The golden rule of screen measurement is to subtract 1.72 inches from both your total width and height measurements. This allows the aluminum sticks and the corner connectors to combine into the exact dimensions of your window recess.
Standard Frame Sizes and Selection
Frames come in different thicknesses to match the tracks of various window brands. Use the table below to identify what you need:
| Frame Thickness | Common Use Case |
|---|---|
| 5/16″ | The industry standard for most modern residential windows. |
| 3/8″ | Often found in older homes or specific commercial applications. |
| 7/16″ | Heavy-duty frames used for larger openings or specific brands. |
Tools Required for Assembly
Before you begin, gather these essential tools. Most are included in comprehensive kits, but you may need to supply your own cutting tools:
- Hacksaw and Miter Box: For making straight, clean cuts on the aluminum.
- Spline Roller: A specialized tool with a concave and convex wheel to seat the spline.
- Utility Knife: To trim the excess mesh.
- Tension Springs and Pull Tabs: These help the screen snap into the window and make it easy to remove for cleaning.
The 5-Step Assembly and Installation Process
Once you have your materials, the assembly process is surprisingly fast. In fact, DIY window screen replacement kits can be assembled and installed in as little as 30 minutes.
Step 2: Cutting the Aluminum Frame
Using your adjusted measurements (the ones where you subtracted 1.72 inches), mark your aluminum frame sticks. Place the stick into a miter box and use a hacksaw to cut it. The miter box ensures your cut is perfectly square, which is vital for the corners to fit snugly.
Pro Tip: Use your first cut piece as a template for the second piece of the same dimension. This ensures your frame stays perfectly rectangular and prevents “parallelogramming.”
Step 3: Assembling the Frame and Hardware
Lay your four cut pieces on a flat surface. Slide the plastic corner inserts into the hollow ends of the aluminum sticks. This is also the time to install your hardware. If your window requires leaf springs to stay in place, slide them into the top of the side frames before closing the corners. Pull tabs should be placed at the bottom so you can easily grip the screen later.
Step 4: Rolling the Screen Mesh and Spline
Lay your mesh over the assembled frame. It should overlap the edges by at least an inch on all sides. Starting at one corner, use the spline roller to push the vinyl spline into the groove, sandwiching the mesh inside.
Expert Insight: Use gentle pressure. If you pull the mesh too tight while rolling, you will “hourglass” or bow the aluminum frames inward. The mesh should be taut but not under extreme tension.
Step 5: Trimming and Final Installation
Once the spline is seated all the way around, use a sharp utility knife to trim the excess mesh. Run the blade along the outside edge of the spline groove, being careful not to cut the spline itself or your fingers.
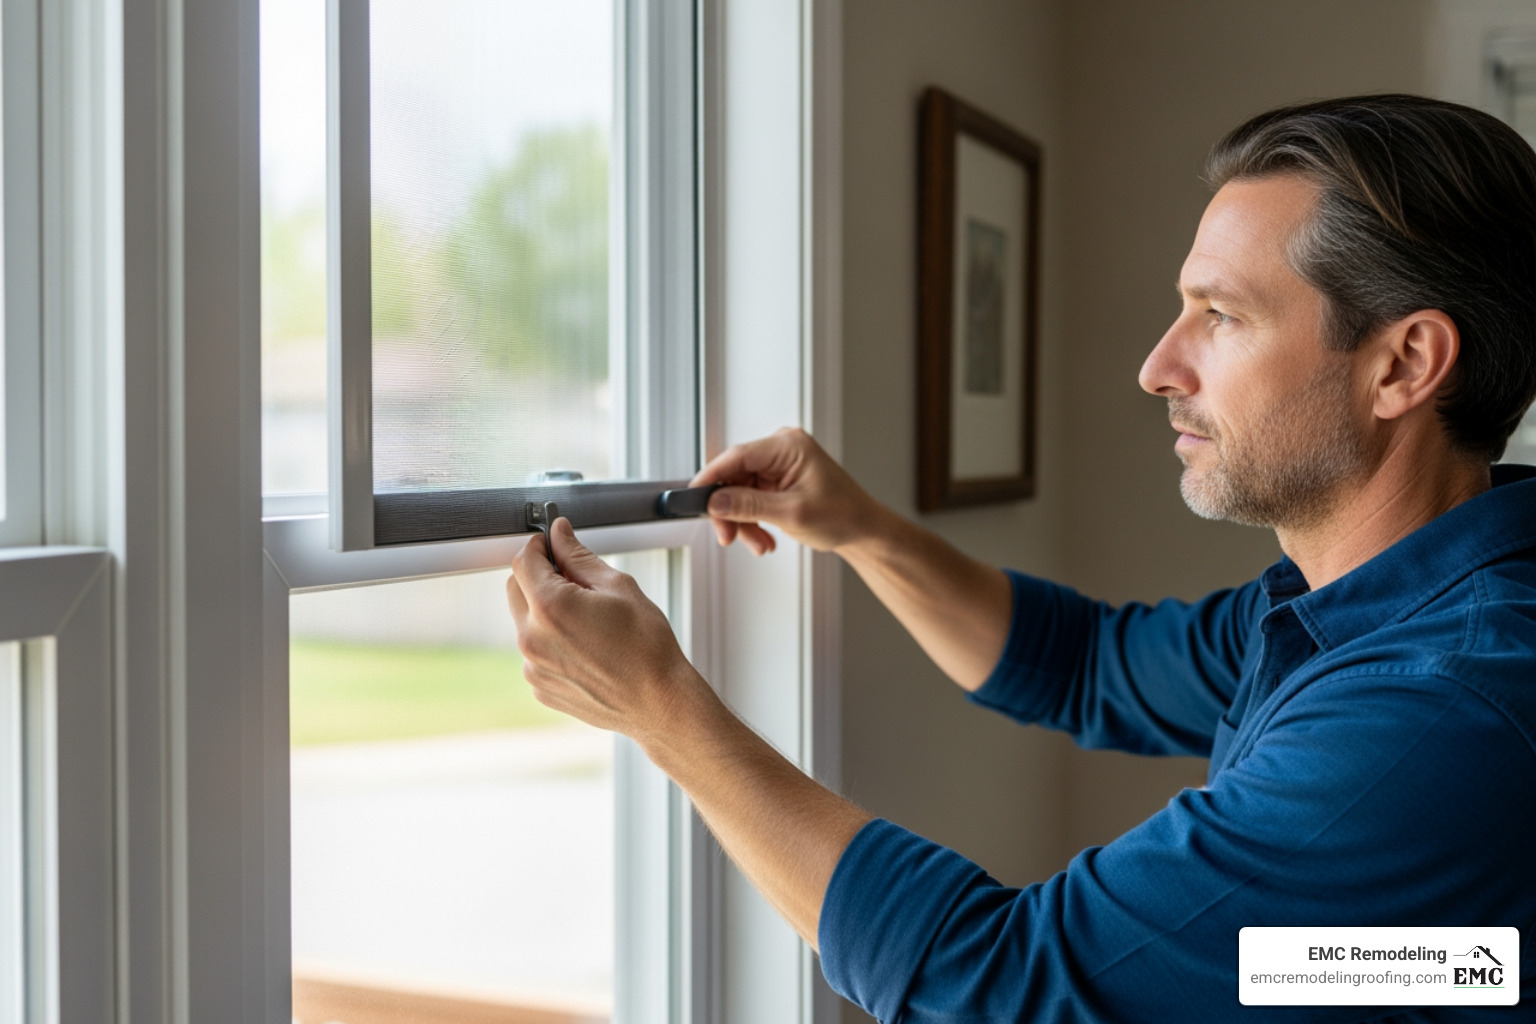
To install, take the screen to the window. Press the top (where the leaf springs are) into the upper track first. Then, pull the tabs to snap the bottom of the screen into the lower recess. It should fit flush against the window frame.
Common Mistakes During Window Screen Frame Replacement
Even simple projects have pitfalls. Avoid these common errors:
- Over-tensioning: As mentioned, pulling the mesh too tight causes the frame to bow.
- Wrong Measurements: Forgetting to subtract the corner allowance (1.72″) is the #1 reason kits fail to fit.
- Spline Damage: Using a screwdriver instead of a spline roller can tear the mesh or the spline.
- Ignoring the Recess: Ensure you have at least 0.5 inches of unobstructed recess space in your window frame before starting.
Why Screen Damage in Temple Often Points to Storm Damage, Roofing Problems, or Emergency Repair Needs
A window screen frame replacement is a manageable DIY task, but it often reveals larger issues. If your screens keep popping out, the frame is bent, or the window track no longer holds the screen flush, the problem may be related to storm impact, structural movement, or damage to the surrounding exterior envelope.
In Central Texas, that risk is real. Homes in Temple and nearby communities regularly face extreme heat, hail, sudden wind events, and winter freezes. Hail and high-wind storms are among the most common causes of emergency exterior repairs because they can damage screens, windows, shingles, flashing, gutters, and siding in a single event. A damaged screen after a storm is often one of the first visible warning signs.
If the window frame itself is damaged, or if a storm has compromised your home’s exterior, you may need more than a screen repair. We provide window repair in Temple, TX and high-quality replacement windows in Cedar Park. We also recommend pairing visible window damage with an immediate roofing assessment through our professional roof inspections and related emergency repair services when needed.
Here is the answer-first rule homeowners should follow: if screen damage happened after hail, high winds, or falling debris, treat it as a storm-damage indicator until proven otherwise. Exterior systems fail together more often than homeowners expect.
Our local weather patterns cause thermal expansion and repeated contraction, which can warp window tracks and make screen installation difficult. Those same conditions also accelerate roofing wear, loosen flashing, and increase the chance of water intrusion. Routine maintenance is not optional in this climate; it is one of the most cost-effective ways to preserve energy efficiency and prevent pest entry.
When Emergency Window or Roofing Service Is the Right Move
Some situations require immediate action. If a hailstorm shatters a pane, wind drives debris through a window, or a fallen branch damages the roof above the opening, delaying repairs increases the risk of interior water damage, insulation loss, and mold growth.
You should seek emergency service when:
- A window opening is exposed to rain or wind
- Roof damage appears above or near the affected window
- Multiple screens or windows failed in the same storm event
- You see active leaks, ceiling stains, or wet drywall
- The window no longer closes or locks securely
EMC Remodeling offers 24/7 emergency roofing and window support for urgent situations. Whether you need a simple screen fix, a storm-damage inspection, or fast emergency exterior service, our team can help protect your home before minor damage turns into a major repair.
Frequently Asked Questions: DIY Screen Replacement, Storm Damage, and Emergency Service
Are window screen frame kits suitable for arched windows?
No. Standard DIY aluminum kits are rigid and designed for square or rectangular openings. Arched and circular windows usually require custom fabrication.
How long does a DIY window screen replacement typically take?
For a beginner, the first screen often takes about 45 minutes. After that, a single window screen can usually be assembled and installed in as little as 30 minutes.
What is the largest screen size I can build with a standard kit?
Most standard retail DIY kits are built for a maximum size of 48″ by 48″. Larger openings often require 72-inch or 84-inch frame stock or professionally built assemblies.
When should I call for emergency repair instead of replacing the screen myself?
Call for emergency service if the damage happened during a storm, if the glass or window frame is compromised, or if you suspect roof damage above the opening. A loose or torn screen is a DIY project. A storm-damaged opening is an exterior emergency.
What is the biggest mistake homeowners make after storm-related screen damage?
The biggest mistake is fixing only the visible screen while ignoring the surrounding roof, flashing, siding, and window frame. After high winds or hail, exterior damage commonly affects multiple systems at once.
Final Verdict: Replace the Screen Yourself—But Treat Storm Damage as a Whole-Home Exterior Issue
Mastering window screen frame replacement is a practical way to maintain your home’s comfort, airflow, and curb appeal. In most cases, the project is fast, affordable, and well within reach for a homeowner with basic tools.
But the most important takeaway is this: when screen damage follows hail, high winds, or falling debris, it should trigger a broader exterior inspection. Screens are light-duty components. If they fail during a storm, your roof, flashing, gutters, and window assemblies may have absorbed damage too.
At EMC Remodeling, we handle both the small fixes and the urgent repairs. From window installation in Temple, Texas to comprehensive window replacement and fast-response roof repair services, we help Central Texas homeowners protect their homes after everyday wear and severe weather alike.
Ready to fix the screen—or find out whether the damage goes deeper? Reach out to our team today to schedule a free consultation.